7 mins read
How to Optimize WordPress Images Without Losing Visual Quality
Share Article :


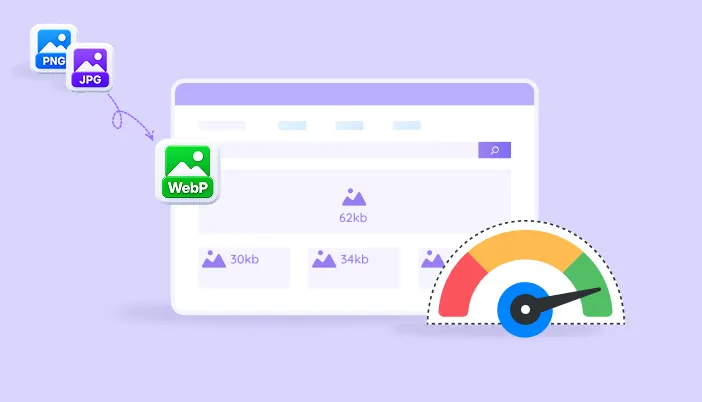
| Quick summary Big images slow your site down, but over-compressed images look cheap. This guide shows how to optimize WordPress images without losing quality: resize first, choose the right format, compress with sensible settings, convert to WebP, and test the result with your own eyes. You will get a simple workflow and a checklist you can use on every upload. |
You upload a beautiful photo. It looks sharp and crisp on your screen. Then you test your page, and a red warning says your images are too big.
So you compress them. And now your photo looks blurry, with strange blocky patches in the sky. You undo it, and the page is slow again.
It feels like you must pick between beauty and speed. You do not. With the right steps, you can keep both. Let’s learn how.
Why do images matter so much for WordPress speed?
Images are usually the heaviest files on a page. They also decide how fast your page looks ready. On most pages, the biggest thing on screen is an image, and Google measures how fast it appears as Largest Contentful Paint, part of the Core Web Vitals.
Smaller images mean faster loading, less data for mobile visitors, and a lighter load on your server.
What does “without losing quality” really mean?
There are two kinds of compression, and the difference explains everything.
Lossless compression shrinks the file without changing a single pixel. The picture is identical, but the saving is modest.
Lossy compression throws away tiny details your eye barely notices. The savings are much bigger. The key word is “barely.” Push it too far, and you start to see blur, blocky patches, and fuzzy edges.
So the goal is not zero loss. It is no visible loss. Find the point where the file is small, and the image still looks great to a normal person at normal size.
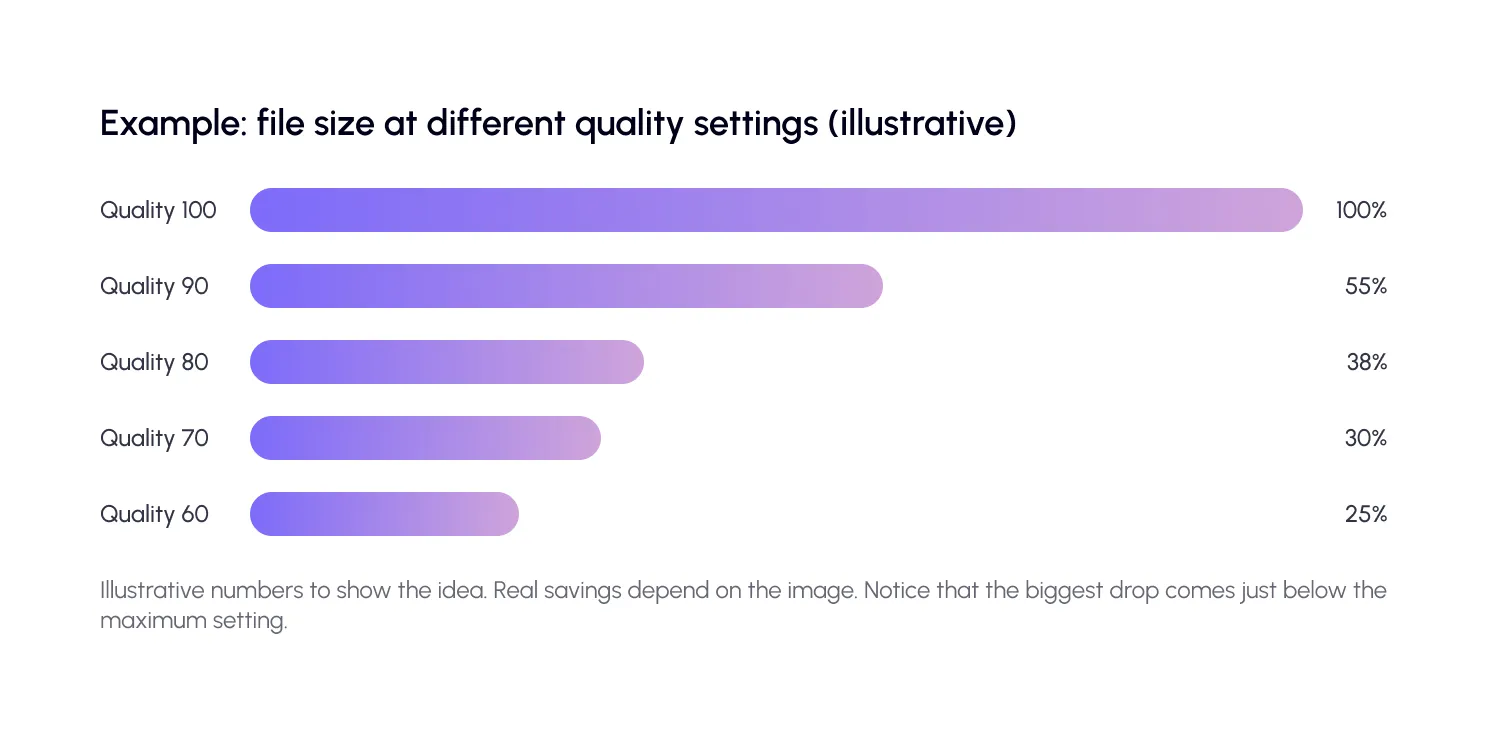
| Did you know? The first few steps down from maximum quality save the most space and are usually invisible. Going from 100 to 85 can cut a file size a lot, while going from 60 to 40 saves little and ruins the look. |
Which image format should you use?
Using the right format for the right job is half the battle.
| Format | Best for | Tip |
| JPEG | Photos with lots of colors | Do not save it over and over; quality drops each time |
| PNG | Screenshots, graphics, transparent backgrounds | Often large for photos, so avoid it there |
| WebP | Almost everything on the web | Smaller than JPEG and PNG at similar quality |
| SVG | Logos and simple icons | Stays sharp at any size and is tiny |
| GIF | Short animations | Very heavy, so consider a short video instead |
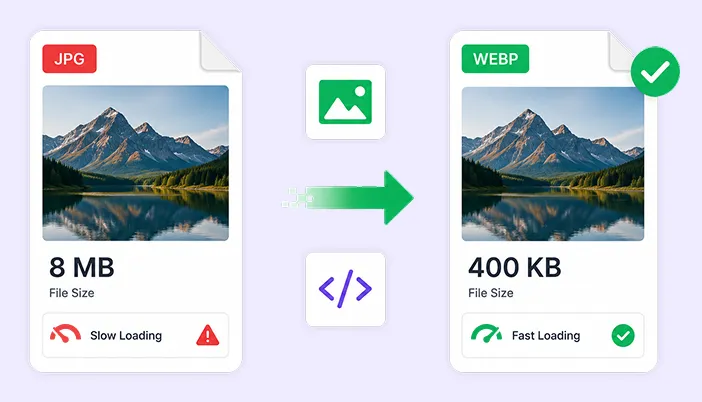
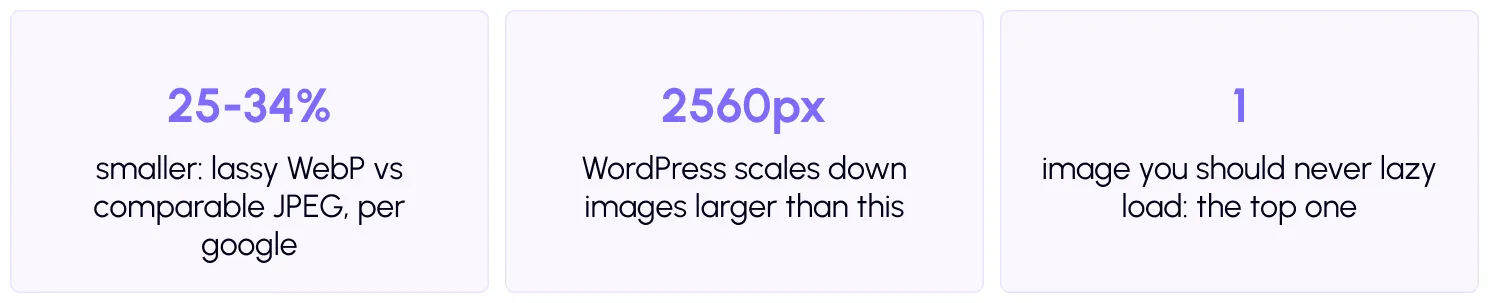
WebP is the modern choice. Google reports that lossy WebP images are 25 to 34% smaller than comparable JPEGs, and lossless WebP images are about 26% smaller than PNGs. If you want to compare WebP with AVIF, we cover that in our other image guide on the SpeedyGo blog.
Step 1: Resize before you upload
This is the most overlooked step, and often the biggest win. A photo straight from a phone or camera can be 4000 pixels wide, but your blog column might show it at 800. The browser downloads the huge file and shrinks it on screen. All that extra data is wasted.
WordPress helps a little. Since version 5.3, it scales down very large images above 2560 pixels, and since 4.4 it creates several sizes and uses responsive image attributes so the browser can pick a good one. But it cannot fix a 2,500-pixel image used in an 800-pixel space. Resize to the largest size the image will actually show at, and leave a little extra for sharp screens.
Steps 2 and 3: Choose the format and compress wisely
Use the table above to pick a format. Then compress. For photos, a lossy quality setting somewhere in the high range is the usual sweet spot. Many tools default to around 75 to 85, which often looks identical to the original at normal size. Test a few values on your own images, because every photo is different.
Do not compress an image that was already compressed again and again. Each lossy save adds damage. Keep your original files safe, and always compress from the original.
Step 4: Convert to WebP
Converting by hand for every image is slow. A plugin can do it for you. In SpeedyGo, you can enable WebP conversion and tune the quality with WebP quality control. The conversion scope rules help you control which images are included, and the guide to image media optimization explains the options in more detail.
| Tip Start with a moderate quality setting and compare a few important images, such as your hero photo and a product close-up. Only lower the quality further if you honestly cannot see a difference. |
Step 5: Lazy load, but not the top image
Lazy loading makes images further down the page wait until the visitor scrolls near them. WordPress has added this for images by default since version 5.5, and SpeedyGo also offers lazy load controls. But never lazy load the main image at the top. It is usually your LCP element
Step 6: Test quality and speed
Do both tests. For quality, open the original and the compressed version side by side, at the size visitors will see. Look closely at faces, text in images, gradients like skies and fine textures, where compression shows first. Check on a phone too.
For speed, run your page through the free SpeedyGo speed test and compare with your earlier scores.
| Note Images with text or sharp lines, such as screenshots and infographics, show compression damage faster than photos. Use a higher quality setting, or a lossless format, for these. |
What about images already on your site?
New uploads are easy. The real work is the thousands of old images in your media library. Do not try to fix them by hand.
Instead, use a tool that converts and serves images automatically, and decide the scope. Start with your most visited pages and your biggest images. Then widen the scope when you are happy with the quality. Also add a simple rule for your team: maximum upload width and a standard process, so the problem does not come back.
Two small habits help SEO and accessibility at the same time. Give every image a clear file name, and write short, honest alt text that describes what is in the image. Add fixed width and height so the page does not jump while images load, which supports a good layout stability score. For deeper guides on speed, browse the SpeedyGo blog. To serve images faster worldwide, see CDN integration.
Your image optimization checklist
- Resize images to the largest size they will display at
- Keep your original files safe and compress from the original
- Use JPEG or WebP for photos, SVG for logos, and avoid PNG for photos
- Choose a sensible quality level and test a few values
- Convert images to WebP
- Do not re-compress the same file again and again
- Lazy load images below the fold, not the top image
- Set fixed width and height for images
- Add clear file names and honest alt text
- Compare original and compressed images side by side
- Re-test your page speed and Core Web Vitals
Common mistakes to avoid
The first mistake is uploading huge originals and relying only on a plugin to shrink them. Resize first.
The second is compressing too hard. If you see blur or blocky patches, raise the quality.
The third is lazy loading everything, including the top image. Keep the main image loading normally.

Frequently Asked Questions
Learn how to resize images, choose the right formats, use WebP conversion, and improve loading speed without losing visual quality. This guide also covers lazy loading, image testing, and common mistakes to avoid.
How do I optimize WordPress images without losing quality?
Resize images to the size they display at, choose the right format, use a sensible compression level, convert to WebP and compare the result side by side before using it.
What is the best image format for WordPress?
WebP is the best all-round choice for speed. Use JPEG as a fallback for photos, PNG for transparent graphics and SVG for logos and icons.
What is the difference between lossy and lossless compression?
Lossless keeps every pixel but saves less space. Lossy removes small details to save much more space, and looks the same to most people at a sensible setting.
Does image compression affect SEO?
Done well, it helps. Smaller images improve loading speed and Core Web Vitals. Poorly compressed, blurry images can hurt user experience.
Should I lazy load all my images?
No. Lazy load images below the first screen. Keep the main top image loading normally, since it is usually your LCP element.
Can SpeedyGo convert my images to WebP?
Yes. SpeedyGo offers WebP conversion with quality control, with conversion limits that depend on your plan. See the pricing page for details.