
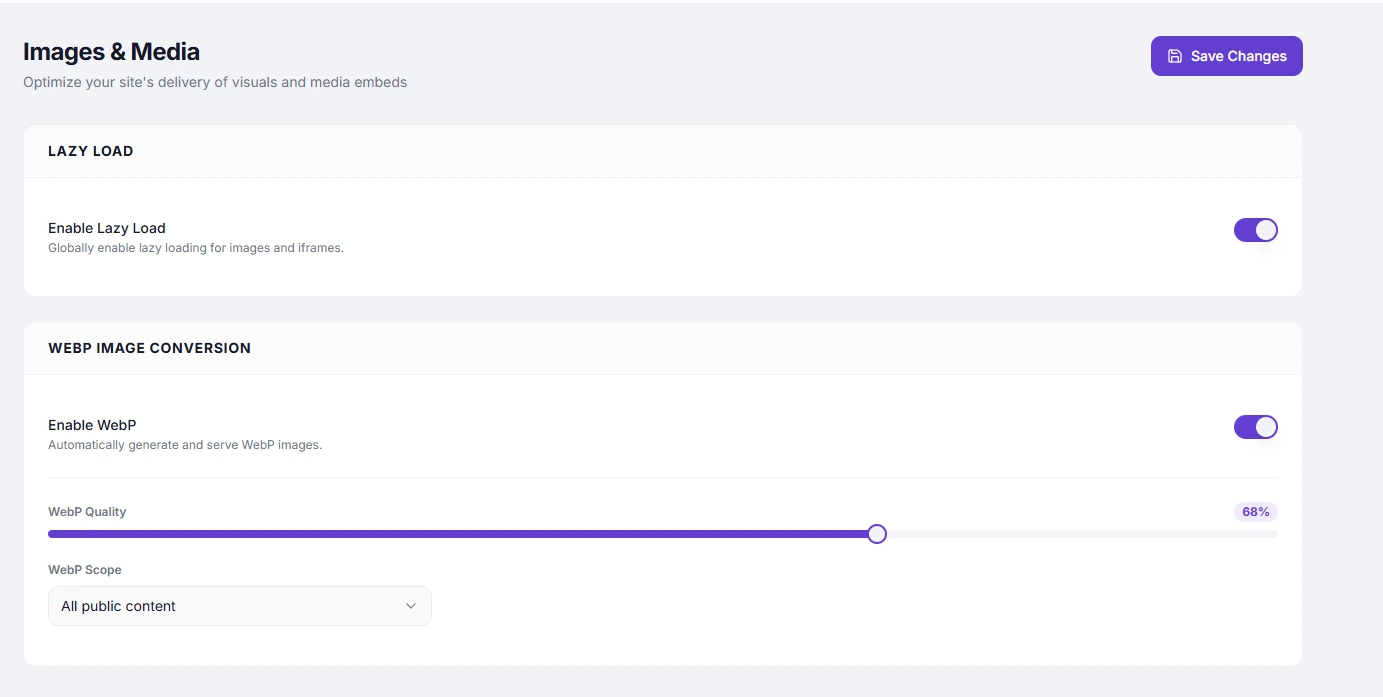
WebP Quality Control lets you set the compression quality for generated WebP images using a slider. Higher quality produces sharper images with larger file sizes; lower quality produces smaller files with more visible compression artefacts.
Dashboard path: Cache Settings → Images & Media
Section: WebP Conversion (visible when Enable WebP is ON)
Settings #
| Setting | Type | Range | Description |
|---|---|---|---|
| WebP Quality | Slider | 1–100 | Controls the quality of generated WebP files. Higher = better quality, larger file size. |
Recommended Values #
| Quality | Use case |
|---|---|
60–70 | Blog thumbnails, small decorative images — maximum file size savings |
75–80 | Recommended for most sites — good balance of quality and size |
85–90 | Photography sites, product images where detail matters |
95–100 | Print-quality or near-lossless (rarely needed for web) |
Start at 80. Reduce to 75 if file sizes are still too large. Increase to 85–90 if image quality appears unacceptable.
How Quality Affects File Size #
| Quality | Approximate size vs JPEG |
|---|---|
| 60 | ~40% of JPEG size |
| 75 | ~55% of JPEG size |
| 80 | ~65% of JPEG size |
| 90 | ~80% of JPEG size |
| 100 | Similar to or larger than JPEG |
WebP is more efficient than JPEG at every quality level — even at quality 80, WebP files are significantly smaller than a JPEG at the same quality.
How to Adjust #
- Go to Cache Settings → Images & Media.
- Ensure Enable WebP is ON.
- Drag the WebP Quality slider to your desired value.
- Click Save Changes.
- Click Clear WebP Cache (Free) or purge CDN cache (Pro) to regenerate images at the new quality.
Important: Changing quality only affects newly generated WebP files. Existing cached WebP images continue to use the previous quality setting until the WebP cache is cleared.
How to Clear WebP Cache After a Quality Change #
- Free plan: Click the Clear WebP Cache button in the WebP Conversion section header.
- Pro plan: Go to Integrations → CDN and click Purge All Cache.
Troubleshooting #
| Symptom | Likely cause | Fix |
|---|---|---|
| Images look pixelated or blocky | Quality set too low | Increase quality to 80 or above and clear WebP cache |
| File sizes still very large | Quality set too high | Lower quality to 75–80 and clear WebP cache |
| Quality change has no effect | Old WebP files still cached | Clear WebP cache after changing quality |
Tips #
Tip: Set quality to
80and run a PageSpeed test. If images are still flagged as oversized, lower to75. If quality looks poor, increase to85.
Note: WebP quality is a compression setting, not a resize setting. It does not change the pixel dimensions of your images — only the compression level applied to the WebP file.


